here i show how i create the postcard...
------------------------
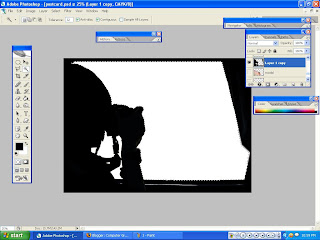
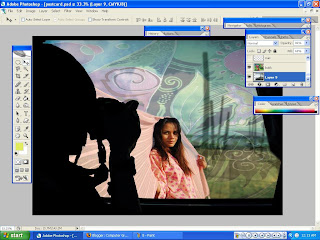
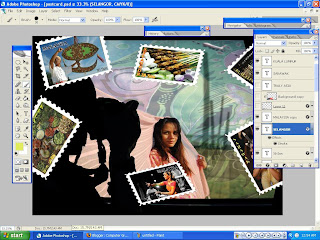
for the postcard i set 8 in x 6 in
i used this picture as my background
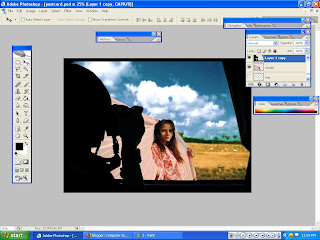
 i wanted to put a picture in between the photographer and the window
so to do that i copy the background picture to make same background
in the second copy background layer, i used magic wand tool to select the outside window and delete it
in between background layer and background layer copy i put picture that already select.
the tool that i used is also with magic wand tool

for the postcard i set 8 in x 6 in
i used this picture as my background
 i wanted to put a picture in between the photographer and the window
so to do that i copy the background picture to make same background
in the second copy background layer, i used magic wand tool to select the outside window and delete it

in between background layer and background layer copy i put picture that already select.
the tool that i used is also with magic wand tool


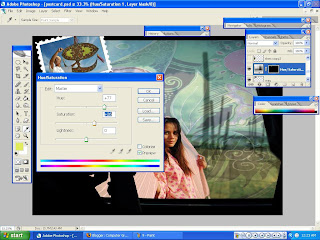
to make it smooth, i used Gaussian blur to blur certain part needed
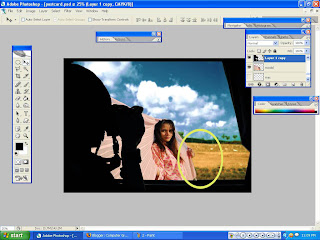
i also make arrangement to the picture
tools: free transform (ctrl+T)
i also make arrangement to the picture
tools: free transform (ctrl+T)

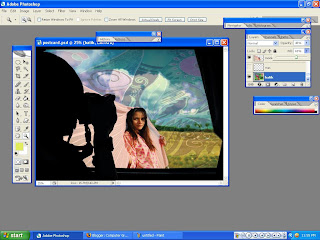
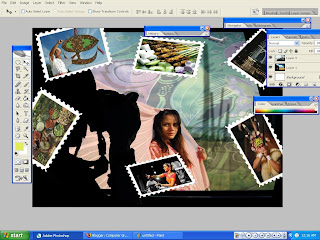
i drag picture of batik into the workplace

i reduce its fill (45%) and opacity (65%)
 and this the result
the same techniques goes to this jetty picture


i reduce its fill (45%) and opacity (65%)
 and this the result
the same techniques goes to this jetty picture


to change color for the kite, after select the area with magic wand tool i select hue/saturation
after that, i arrange all the picture that i like to put in
im used free transform to alter the images
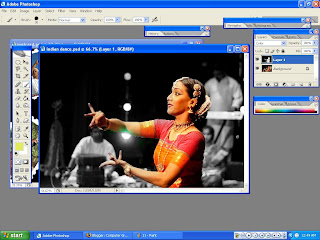
*I also used the tutorial 3 method to make picture Indian dance below)
1st - select inverse the dancer > make new layer > fill the selected area with brush tool
make sure the blending mode for the layer in color mode
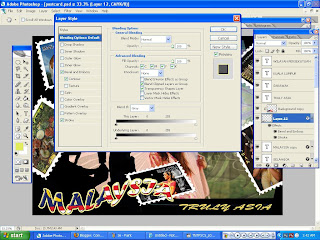
i put text - add stroke

 for the style i used bevel and emboss+contour+stroke

after that, i arrange all the picture that i like to put in
im used free transform to alter the images
*I also used the tutorial 3 method to make picture Indian dance below)

1st - select inverse the dancer > make new layer > fill the selected area with brush tool
make sure the blending mode for the layer in color mode

i put text - add stroke


this is the last part when doing this assignment,
with using Tutorial 3 method of merging an image with the words. Here, the image used is the Malaysian flag.
Then the combine method between layers is applied
here i just show several step to make it
first i create text in channel pallet
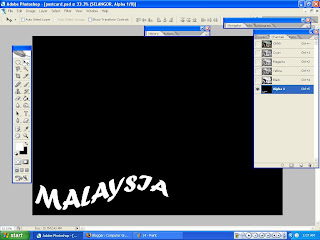
back to layer pallet drag the Malaysia flag> make selection > alt+backspace > make new layer> joining the new layer with the flag layer> and it will become like this
 for the style i used bevel and emboss+contour+stroke
-------------------------------------------
this the output
A Postcard!!
Malaysia Truly Asia
----------------------------
after gone through a long journey + fighting with the enemies + kill the devils...
...i finish the 1st assignment...
what a hard time....hadoihh
watevaa...

dah...jom tido
this the output
A Postcard!!
Malaysia Truly Asia
----------------------------
after gone through a long journey + fighting with the enemies + kill the devils...
...i finish the 1st assignment...
what a hard time....hadoihh
watevaa...

dah...jom tido


