tutorial 6

December 25, 2008


finally its comes to the end... this is the last exercise that i had gone trough

first...I place the background.psd and put the background color and used rectangle marquee tool to make stripe like the picture below


then i put light effect
filter>render>light effect... i made some adjustment to the setting


then in the channel pallet i made new alpha channels and put fiber effect into it

and this the output when the two effect which are lighting effect and fiber were blended


here i want to make chrome effect to this 70's object.
actually, I'll make sure when in the alpha pallet the foreground color is black then make sure the the selection still active then put the stroke into the object and after that go to blur then apply Gaussian blur into it.the picture below show when click back into RGB.


I made another copy for this alpha channels because i want to put some different effect and suit to become like chrome
i do made adjustment little bit to the right and up for alpha 3 channel
and little bit left and down for alpha 3 copy channel
then i go to image> calculation
this is for combine that 2 alpha channel that already made it before
after i click OK, the combination channel will appear in new alpha channel in the pallet


in that new alpha channel I applied curve adjustment


Press Ctrl I to invert it.

Go back to path and Ctrl and click on the 70’s path. ctrl delete the small unwanted pixel. Then Ctrl C to copy and go back to layer. Find the basic chrome layer and simply paste. It will automatically create a new layer and give the name chrome edge.


To make a reflection,I insert the 20 dollar image into the project file. Ctrl U to pop up the Hue saturation window and make the saturation become -100 to make the dollar in grey. Then use the Gaussian blur again.

Again Ctrl M to bring up the curve and give the same effect to it. Then select the layer 1 and ctrl click basic crompe shape layer and create a new mask. Selecting layer 1, again use the difference blending mode.


To give a colour to the word, again selecting layer 1 and ctrl click basic chrome shape layer, choose Hue saturation and select colorize, and you may choose the most suitable colour
i wanna put the shadow to make it real..
Go to path and make a duplicate of the seventies. Press ctrl T, drag it slightly bigger to left and move it a little bit down. Make it selection and go to layer window create new layer and name it shadow.


i put motion blur
used gradient tool. before that used layer mask to put the gradient
i adjust until i satisfied with the result


********
this the output

assignment 2 - digital wallpaper

December 22, 2008

Description

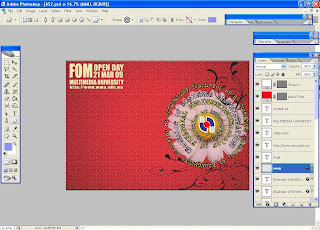
Faculty of Management (FOM) is located next to the HR building, Multimedia University at Cyberjaya Campus. It is one of the seven faculties in the University. Its aim is to provide and maintain an environment conducive towards independent learning, research and intellectual enquiry, with emphasis on the changing needs of the new millennium.

Besides teaching, FOM is actively involved in research in the areas related to management and business such as Accounting, Finance, Law, Economics, Ergonomics and Marketing.

the purpose in creating this digital wallpaper are to give information to the audience about what and who is FOM. when people see this wallpaper, they automatically will get information what FOM offer and where they can find other information for it.

in this wallpaper, I already mention about the course that offered from FOM, the launch day , the URL, place and and contact number.

from here, people can directly go the MMU website, for detail information.

***************************************


for this assignment i really lack of ideas... im not satisfied with my work. here i show u the process

*****************
blending option
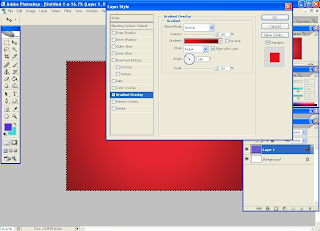
I set the background with gradient overlay.


this is how i set the color
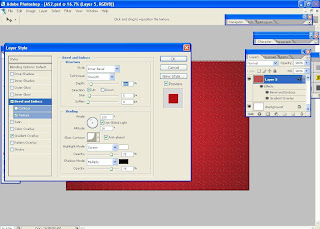
bevel & emboss> contour

from this original picture, i used magic wand tool to select figure that i want...


i used transform tool to get the perfect size
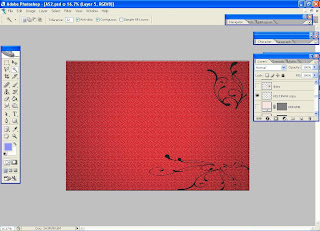
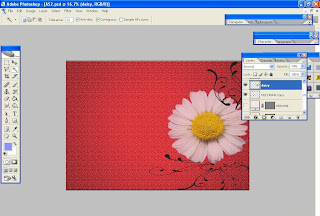
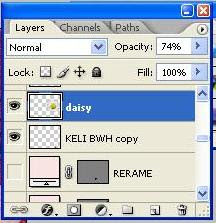
i put daisy flower and reduce the opacity for this image


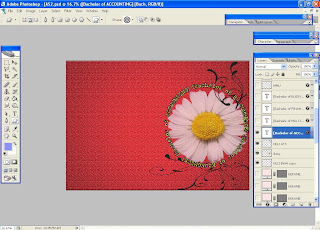
making text - 1

With the Custom Shape Tool (U) still active, click and drag (Hold Shift key to constrain proportion) to create the path


As in the previous Type on a Path introduction, select the Type Tool (T), position the insertion point and type
Ctrl+H to Hide the spiral path from view.


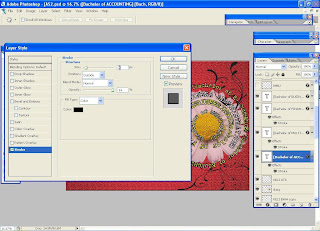
for text i put stroke


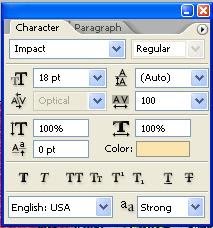
i also change the setting for character measurement


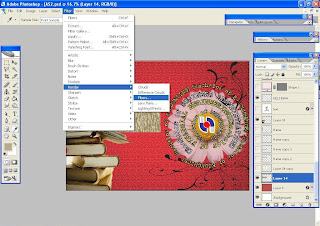
to make board... i used render>fiber
for the second board i used render> clouds


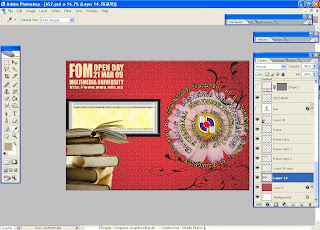
makin frame

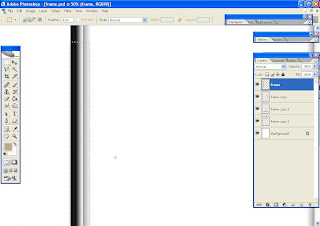
Click the new layer icon at the bottom of the layers palette to make a new layer. Using the rectangular marquee, select the area for one of the long sides of the frame.

choose the reflected gradient tool

Hold Shift to make the gradient go at an exact right angle. I dragged horizontally


making text - 2

Create a new document of any size, I chose 800*600px because it provides more room later on if I want to add something extra on. Fill the background layer with black.


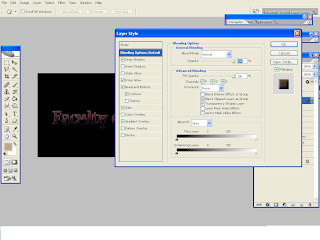
i set the blending option for drop shadow,inner glow, bevel and emboss, satin and gradient overlay
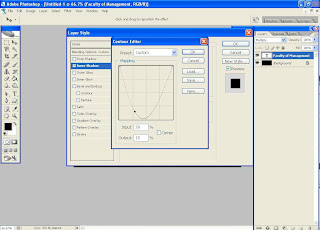
i also adjust in the contour editor


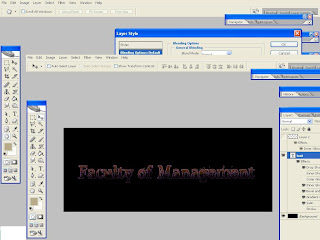
and this the output


i drag what i've done in that new document into my project document
and put it on the board that i created earlier
and then put some adjustment in there


***********
final output


Tutorial 5

December 19, 2008

Step 1: select picture of a guy doing yoga. Now I want to create a flame on both of his hand.


Step 2: I used the lasso tool to draw a flame to make it into brush. Click Ctrl and backspace to make the flame background to be in white colour. Then use the Gaussian Blur effect to make it soften at its end.
Next, I sprayed with darker colour,Before that I have to click the preserve transparency of the layer in the layer properties. Use the brush tool to paint in the end of the flames. To turn it to brush, simply go and select the marquee tool and draw the marquee that cover the size of the brush that I already created. Then set the background layer to invisible. Subsequently, go to edit menu and select define brush preset.

Step 3: After creating the flame brush,I set the flames layer to be invisible. Set background to visible and create new layer and name it final flames. Go to brush tool and choose the flames brush that been created earlier and start draw the flames.


Step 4: Create another layer which will content the colour of the flames. Draw a rectangular marquee then at the colour window make the foreground colour to be dark red and background with bright yellow. Then go to Filter – Render – clouds, then use Level (ctrl L) to give a better effect.


Step 5: Then hit Ctrl T to adjust the layer before on top of the flames. While selecting the colour layer click Ctrl and select final flames layer to make a selection. Shift Ctrl I to inverse it so that other will be selected except for the final flames layer and hit ctrl backspace to remove the extra pixel and deselect it. Then click Alt and click and drag the flames to make a copy for the other hand.


Step 6: Now I want to create a smoke effect. To do so I need to use the clouds effect again. Create a layer and using the lasso tool to define the area of smoke. Then click Alt backspace to put a white colour in the area. Use the Gaussian blur again for the smoke. Turn on the transparent pixel in the layer properties. Then use the clouds effect again and you may use the level option to darken the smoke effect. Then use the multiply option. Finally remove the dark pixel from the face by using the eraser tool.


Step 7: As an additional, drag in the lightning image into the file. Then use the blending option “this layer” and “underlying layer” to give a lightning effect. Then use darken and hard mix option to make some effect in the background of the picture.


for the last stage...i put water surface under this yoga man and put blending option to make looks like this guy sitting on the water

-------------------------
final output

Project Charter Assignment 2

December 12, 2008

Project Charter Assignment 2

Assignment 2 Title: Digital Wallpaper

Project Start Date: 10 December 2008

Project Finish Date: 2 January 2009.

Project Manager: Sarah Nur Ahmad


Email:
ara_misz@yahoo.com

Website:
http://mcg1014-1061106543.blogspot.com


Project Objective:


For this assignment, we have been assigned to create digital wallpaper. The theme is Faculty of Management Open Day on 21st March 2009. The digital wallpaper must show all the features and characteristics about the faculty and can attract visitors about FOM

Approach:


I will use some images from internet that related with Faculty Open Day. And also I will take some snap shots using digital camera.

I will try to use the all the relevant technique that had been tough from tutorial. such as blur effect,hue saturation etc for images and for the text i will try to put some effect likes bevel and emboss, drop shadow or gradient overlay. I'll think I'll do emphasis on the text than the images.

Roles and Responsibilities:

1.
Looks for reference
2.
Do a sketch of the ideas
3. Find some pictures in the internet and take my own snapshots using digital camera.
4. Select the best pictures to insert in the wallpaper.
5. Finalized the picture used in the wallpaper and put the text.
6. Consultation
7. Submission.

Comment:

I have to brain storming myself to gain new and fresh ideas for this assignment. I do have many assignment for other subject and also midterm exam, i think I cannot show my 80% progress for next week as madam lydia ask for, but I'll try to make it.
GAMBATEHH!!

Tutorial 4

December 10, 2008

wahh..this is the first time i finished my tutorial in early time... here we go for tutorial 4


for the first step I were put some effect into ink vector layer which are drop shadow, inner shadow, outer glow, and bevel and emboss, gradient overlay


for this step, i already adjust the angel, color etc depends on what it looks suitable.


To have the same effect for both ink splat 1 and ink splat 2 layers, I just drag the ink vectors into style window. It will a save the effect.

Then I invisible all the layer except for the background. Go to Channel window and choose or select green because it has most amount of texture. Make a duplicate of the green channel.

Apply a Gaussian blur to this channel>Next press Ctrl L to get the levels properties to lighten up and darken up the texture.


select the whole area of the channel> Edit> Define Pattern.

Go back to RGB and deselect (Ctrl D). Now go to layer and make all the wording and ink splat layers to be visible. The texture that has been created just now is to apply on the wording and the ink splat. Let say the ink splat 2, double click on its layer effect and go to bevel and emboss. Choose texture which will allow us to apply texture in the bevel. Use the Alt click drag if you desire to make a copy of the ink splat. In this case, I did two copy of the ink splat.


Next, go to background layer to create a brand new shape layer used for painting. Therefore, select the rectangular tool (make sure it is a shape layer) and click drag to create a shadow to cover the entire canvas background.


after all the canvas are covered, i fill the entire layer with the layer style that i have save before. to do that, I create a layer mask for the shape layer as you can see in the layer properties. The second white box is the layer mask, then click Ctrl backspace which will make the mask layer to appear in black.


then with using brush i simply drew Malaysia Map

then to make like ice over the map i select blending option>select blend interior effect as a group> make the opacity fill into 24 %


and then finish